The installation of Threats Manager Studio (TMS) starts with downloading it from the Downloads page. It is recommended to download the main distribution, TMPlatformSetup.exe, and all the required Extensions. You may also download TMPlatform_ReportingAddIn.msi, which allows installing the Word Add-In to facilitate the preparation of Word Reports for TMS.
It is important to check the correspondence of the hash listed on the site with the downloaded file. To do that, it is possible to use this PowerShell command, from the folder where the files have been downloaded.
Get-FileHash -Path .* -Algorithm SHA256After you have downloaded TMS and the required accompanying files, you can install them, starting from TMPlatformSetup.exe and then continuing with all the other files. Install them one by one, accepting all defaults. Please note that it is necessary to accept the license terms and conditions to proceed with TMS installation.

After having installed TMP, you’ll find a new icon in Windows Start, for Threats Manager Studio. Click on it to open TMP. The application will show an empty screen, with a Consent Required message, asking to provide consent for the Telemetry. Please read it carefully and accept it. If you decide not to give your consent, TMS will still be fully operational, but eventual errors you face will be addressed less promptly – because they will be known only when other users will send them – and you will not get any notification when a new version is available.
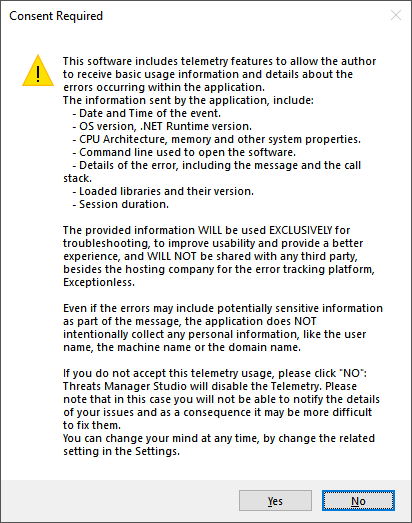
TMS highlights highlights situation where telemetry has been disabled, by adopting Orange as main color for its Ribbon and for the Status bar. You can modify your choice for telemetry at any time, by configuring it in the Options.
When you install TMS for the first time, you see the Initialization Wizard, which guides you through some basic configurations. If you are just starting with TMS, the recommended approach is to just accept all defaults.
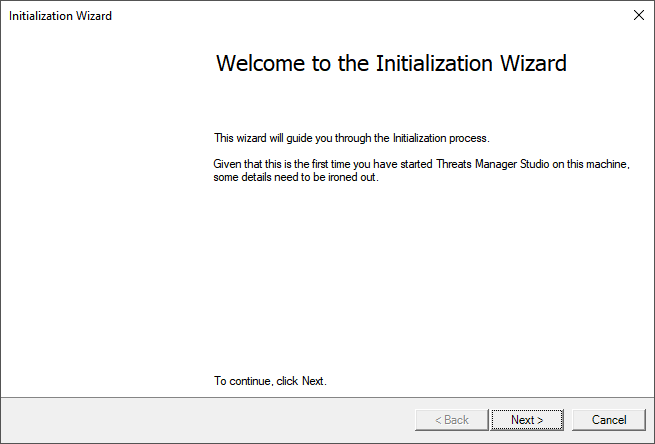
The first page of the Initialization Wizard allows specifying if you want the Extensions to be configured automatically. Just leave this configuration activated, otherwise you may not be able to see the eventual Extensions you have installed on your computer. You can change this configuration in the Options, at any time.
The second page asks to select an Execution Mode. Again, for most users the default “Simplified” mode would be the right choice, but if you need more control and to create Templates, you should choose the “Expert” mode. For more information on the available Execution Modes and how you can configure them, please refer to page Execution Mode.

The next page is dedicated to a feature called Smart Save. It has been designed to ensure that no matter what happens, your Threat Model is still safeguarded.
Smart Save saves automatically your Threat Model after a configurable number of minutes, if there is any change to it, and maintains a number of saves, to ensure that you can revert to a previous version if you make any mistake or if the last save is somewhat damaged. To simplify your choice, the Wizard proposes only three options: to do without Smart Save, a Low frequency save every 10 minutes, and a High frequency save every 3 minutes. You can change this configuration to any value you want, by using the Options page.
This is the last configuration. After you click the Finish button in the Wizard, your choices will be applied and an empty Threat Model will be automatically opened for you.
Congratulations! You succeeded in installing Threats Manager Studio!
